How to Start a Podcast: The Complete Guide
Monday, April 3rd, 2023
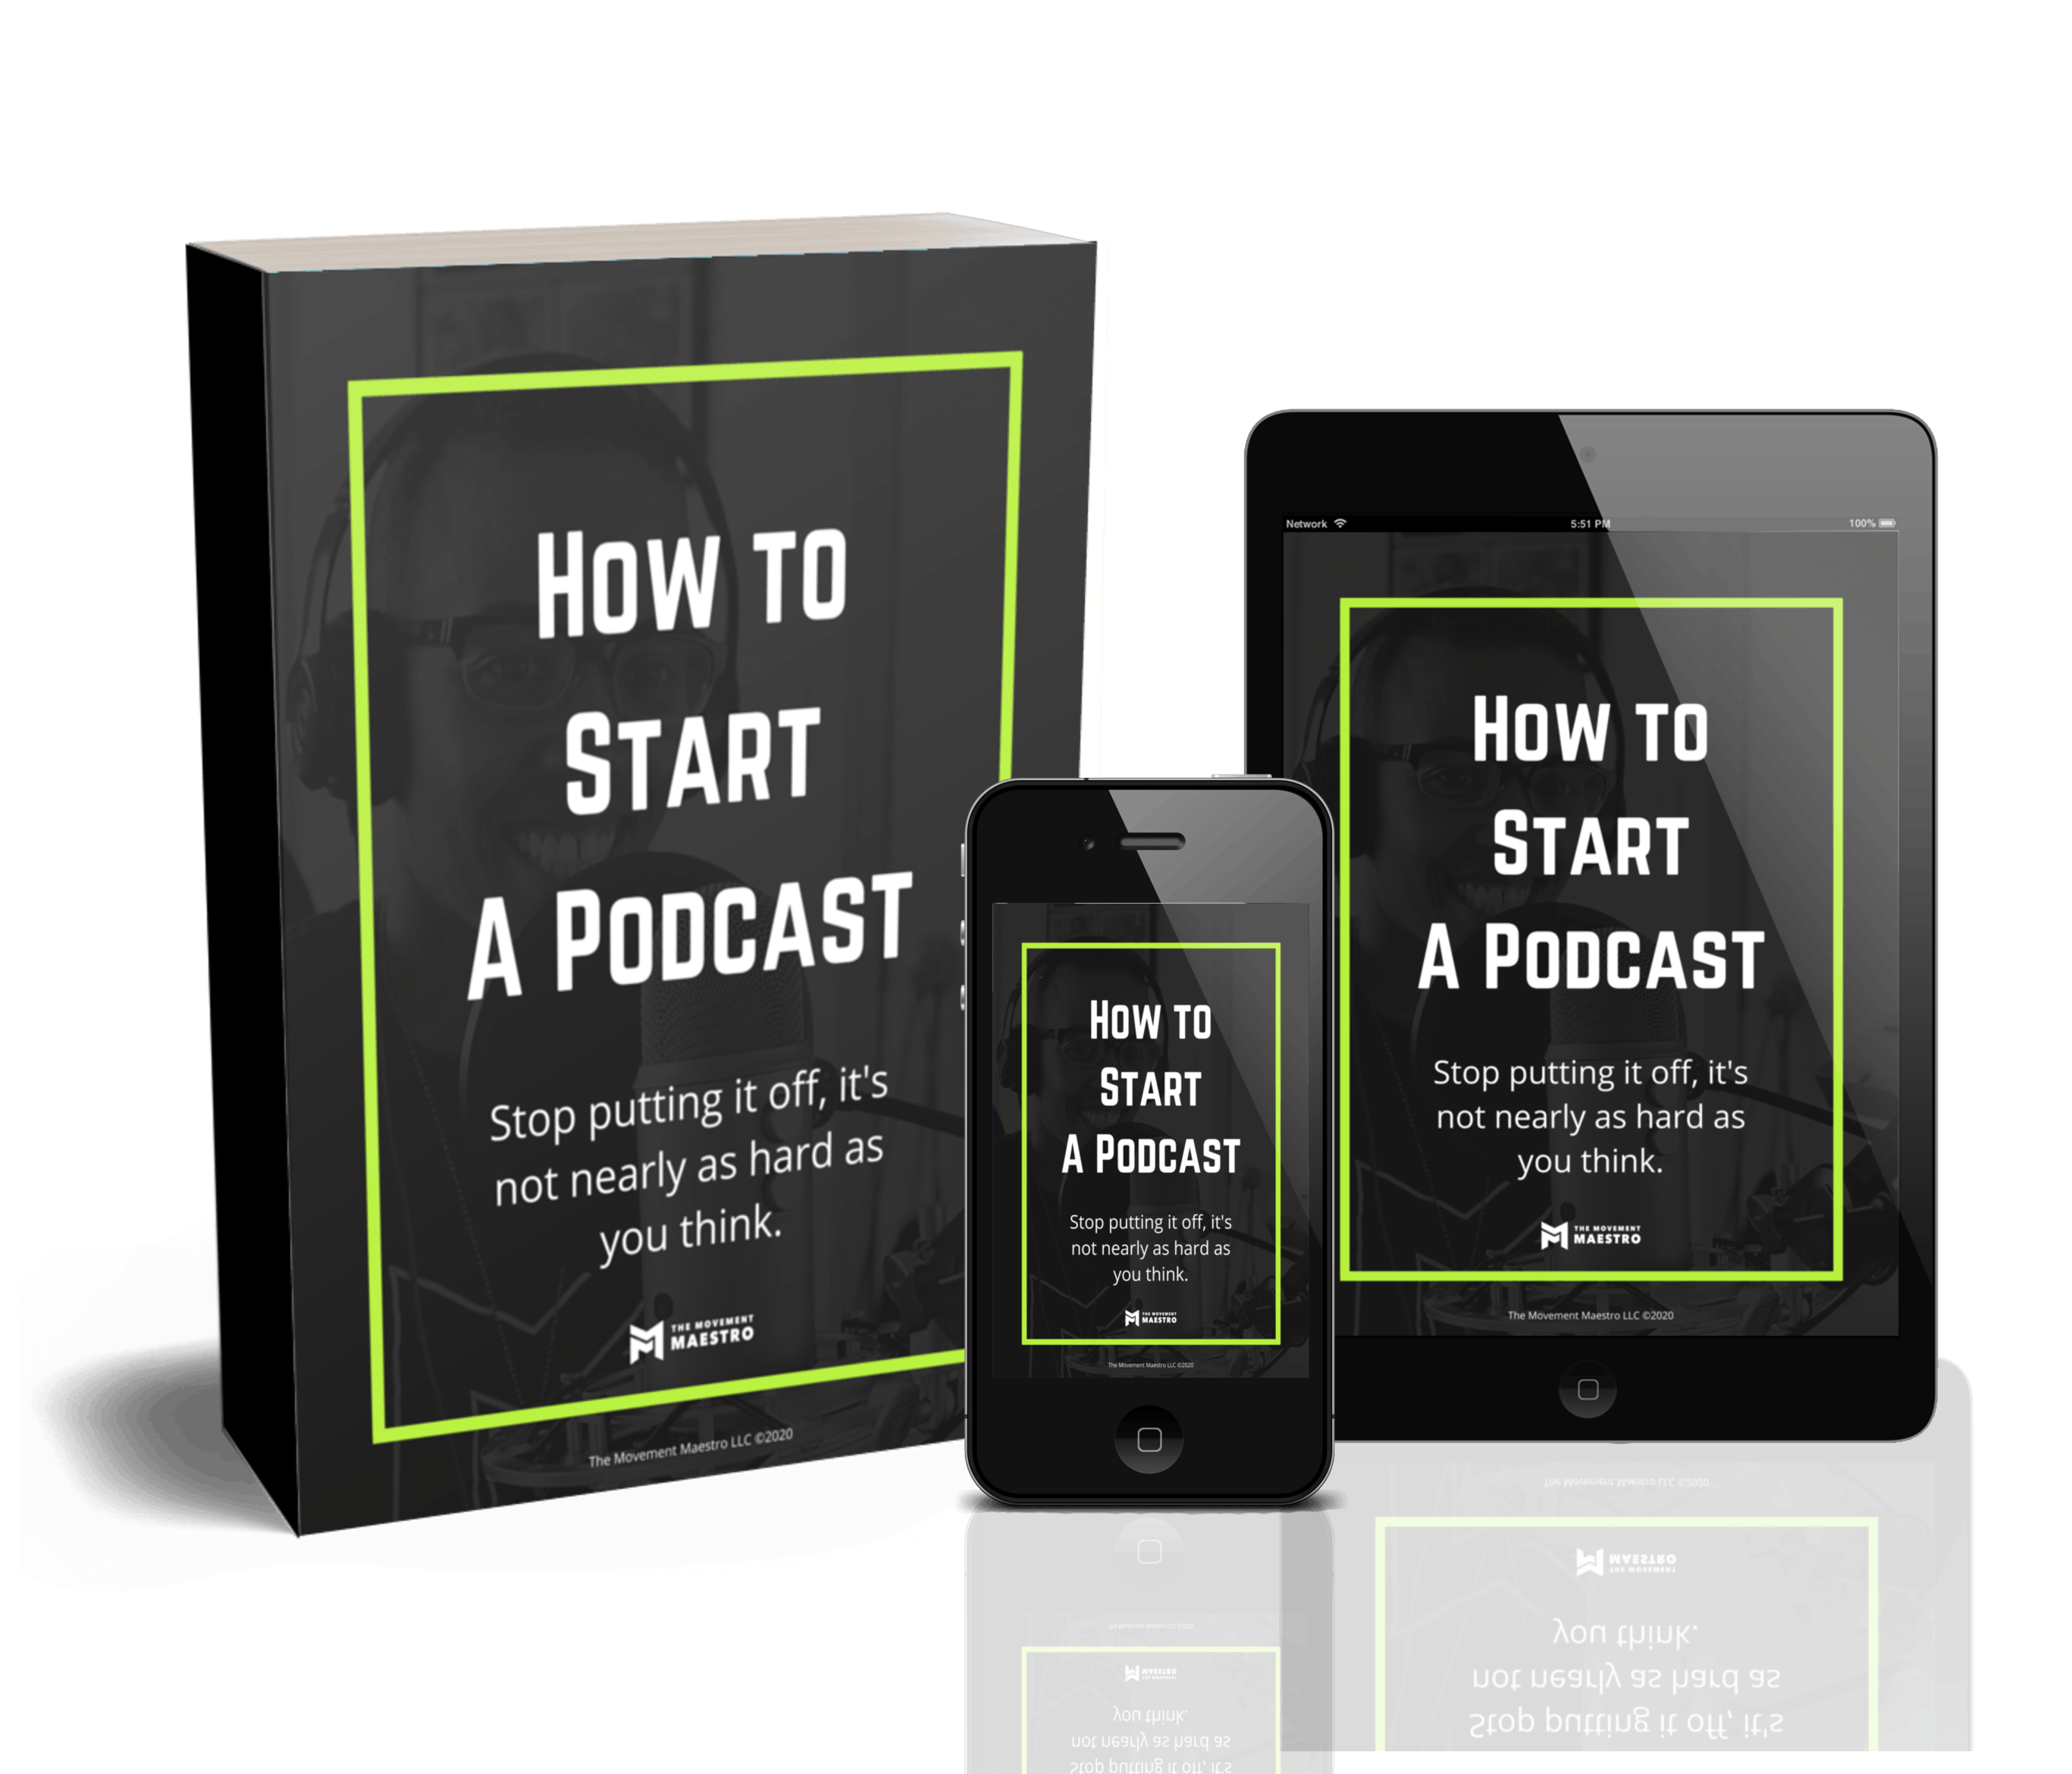
If you've been wondering how to start a podcast that sounds great, this guide is for you. From beginning to end, you'll learn the how-to's for tech, sound, editing, and more.
But first, if you'd prefer to have this podcasting ebook in written form, you can download my podcasting e-book here so you have it forever and ever. If you'd prefer to hang tight and get all the information here, well… keep reading!
Download my FREE E-Book on How to Start a Podcast
So you’ve decided to take the leap and flex those vocal chords. What now? Let me assure you, starting a podcast is actually an easy process that most people just THINK is going to be complicated. I’ve done the obsessive research, I’ve asked those far more advanced that me, I’ve tested out multiple options, and this is what I’ve found to work best. So do yourself a favor and skip the hard work. I’ve already done it for you. Just read, follow the directions, and start your very own podcast today. Yes, today.
Please note, this is how I started MY podcast. Just as with anything else there are loads and loads of ways to go about it. I picked these options based on hours of research and tons of advice from friends with successful podcasts and years of experience in both recording and production.
You’ll notice that I haven’t listed alternatives for my recommendations. Why not? Because that defeats the purpose of you learning from my mistakes and getting your podcast up and running as quickly as possible. That's also my way of saying please don't message me asking why I don't use X hosting service or Y microphone. What you see below is what I use, what I like, and what I recommend.
You’ll also notice that this guide is pretty lengthy. Why? Because there are a lot of moving parts, and I wanted to do my best to answer all of the questions I thought you might have. Please don't let this tutorial overwhelm you. It's designed to serve as a resource to help you on your way, not something to stop you dead in your tracks. In general, the people who succeed are the ones who dare to try and then figure it out as they go. All I'm trying to do with this is help speed things up for you just a bit. Believe in yourself. You can do this.
So, just a little real talk before we dive into this thing: You’re likely going to feel super awkward when you first start, and you’ll probably hate your voice. You’ll get over it. Repetition breeds familiarity, which leads to comfort.
Some more real talk: In the beginning, no one is listening. Make your mistakes. Learn as you go. No one will hold it against you. Just make sure that you’re learning each time and doing your best to deliver your best each and every episode. In case you don’t believe me, CLICK HERE to listen to my first episode. We all start somewhere. The ones who succeed simply choose to keep going.
The Gear You Need to Start a Podcast
Let's talk about all of the gear you need for your podcast.
Just a heads up: Some of the links on this page are affiliate links, which means that if you choose to make a purchase, I will earn a commission. This commission comes at NO additional cost to you. I’m not trying to steal your money! Please understand that I have experience with all of these products, and I recommend them because they are helpful and useful, not because of the small commissions I make if you decide to buy something. Please do not spend any money on these products unless you feel you need them or that they will help you achieve your goals.
Here's my recommended gear list for a home set-up for one person
Microphone: Blue Yeti USB Mic

Save yourself the searching and just buy this mic. Yes, you can spend more on a fancier mic, but you’re just starting off and there’s no need to drop a crazy amount of money to sound good. The beautiful thing about this mic is that it connects to your computer with a USB wire…and that’s it! Just plug it in and you’re good to go! I would however recommend buying a replacement micro USB to USB cord as the one that comes with it is pretty low quality. Mine crapped out on me after about 3 months. You do NOT need the Blue Yeti pro. I repeat, you do NOT need the Blue Yeti pro. That microphone uses XLR cables to connect to the recording device, and last time I checked, your computer doesn’t have a port for this. Keep it simple. Start with the Blue Yeti. You can upgrade later.
Of note, you can use this microphone to record yourself and another guest, but the recording will only save to one single track. This is not as ideal for sound quality, particularly if you are in a place with significant ambient noise. If you are going to have multiple guests on I recommend using separate microphones for each guest and a digital recorder. See “Remote Podcast Set Up” below for my suggested recording setup.
Pop Filter — AUPHONIX Microphone Pop Filter

Not only will this make you feel cool, it’ll make your podcasts sound better. Pop filters, exactly as their name states, filter out the pops. When you say words that begin with letters like P’s and T’s, large bursts of air are created and create harsh ‘pop’ sounds. You can soften this with a pop filter. They also provide a simple way to maintain the same distance between your mouth and the microphone at all times so that you will record at a steady volume. No need to purchase anything crazy expensive here. I use this $15 pop filter and it works great.
Headphones — Beats Solo3 Headphones

Do yourself a favor and invest in a decent pair of headphones. This is most important for the editing aspect of things. Remember, sound quality should be your top priority. Better headphones allow you to hear things, well, better, which will allow you to produce a cleaner, better product. Yes, if you’re on a shoestring budget you can use your iPhone headphones, but make sure that they’re the really old ones that don’t have the microphone built in so you’re not dealing with any double microphone issues.
I personally use a pair of Beats headphones and they work great. I recommend over the ear models to block out any ambient noise, so you can just hear yourself (this is important when recording), your guest (if you have one), and whatever else the microphone is picking up. Of note, I purchased a separate wire for the headphones that did not have a built in microphone.
COOL BUT NOT NECESSARY UPGRADES:
Rode PSA-1 Studio Boom Arm

Use this to suspend your microphone from your desk. If you are like me and tend to move your arms a lot when you speak, tap your desk, take notes on your desk while you record, or type on your keyboard, a studio boom arm is a nice way to raise your mic off of your desk so that it doesn’t pick up the vibrations. Additionally, a boom arm allows for more versatile seating positions. Lean back, stand up, slouch down, move forward, the choice is yours. This mount doesn’t require any drilling and attaches to your desk via a clamping system in less than a few minutes.
Blue Radius II Shock Mount for Yeti and Yeti Pro Microphones

Use this to attach your Blue Yeti Microphone to the Rode PSA-1 Studio boom arm I recommend this shock mount. The benefit of a shock mount is, as the name implies, it decreases the shocks experienced by the microphone. The mount allows you to suspend the microphone either right side up or upside down and prevent transmission of any vibrations from the desk/supporting surface to the mic. Aka, it makes things nice and quiet.
HERE’S MY RECOMMENDATION FOR REMOTE PODCASTING:
Riverside: riverside.fm
If you wish to have guests on your podcasts who will not be in the same room as you, you’ll need a remote recording service. I recommend Riverside. There is a free and paid option and requires that both you and your guest use Google Chrome and have a good internet connection. The free version allows you to 2 hours of separate audio & video per month and have one guest (meaning you + one other person) per recording. Riverside will save an mp3 file of your recording and a separate mp3 file of your guest(s) recording(s) to your computer. You can then take those files and drag them to GarageBand for editing.
No, I do not recommend using Zoom. It's not designed for podcasting. If you want to capture video while you record and then upload it to YouTube, then be my guest. However, if you're just starting out, my recommendation is that you just focus on ONE thing, not trying to dominate every single platform out there. Riverside is designed for podcasting and thus it prioritizes audio quality.
I recommend recording your personal audio track using GarageBand while you are conducting your interview. I’ve found that the sound quality is a bit better this way. For this, all you have to do is open and run GarageBand while you are conducting your interview on Riverside. You can then import your guest(s) track to the GarageBand session that you created for your personal track. This sounds confusing, but I promise you, once you actually do it, it’s quite easy. Remember, prioritize sound quality above all else!!!
HERE'S MY RECOMMENDATION FOR PODCASTING WITH TWO IN-PERSON HOSTS:
If you're going to have two hosts for your podcast, and both people will be in the same room, I recommend that each host have their own mic and record to their own track. If you're ok having both hosts share one mic, then go for it. But, again, I champion sound quality above everything else, and one of the best ways to ensure better sound is with individual mics and separate tracks.
In order to have each microphone record to its own track in Garageband, you'll need an interface. Simply plugging two mics into your computer will NOT work. I recommend using the ZoomH6, namely because if you're going to be spending money on podcast equipment, you might as well kill two birds with one stone and get an interface that is also a digital recorder, so that you can record directly to it when you're on the road or away from your computer.
Below you will find a YouTube video on how to set up and use a Zoom H6 as an Audio interface with GarageBand. You can also CLICK HERE to access the video.
HERE’S MY RECOMMENDATION FOR PODCASTING ON THE ROAD:
For on-the-go podcasting I use a digital recorder and separate microphones. I recommend using the Zoom H6 recorder and separate microphones as outlined below.
Recorder — Zoom H6

The Zoom H6 is a portable digital recorder. You can record up to 6 guest at once, and each will be recorded to its own track. The recorded tracks are saved to a memory card. You can then upload the tracks to your computer from the memory card.
Memory Card — SanDisk Ultra 128GB

In order to record to the Zoom H6 you'll need a memory card. I recommend buying one with more memory than the one that comes with the recorder.
Microphones
You’ll have to purchase new microphones to use with the H6 as it has XLR inputs, not USB inputs. See below for my recommended portable microphones. I now personally use the Audio-Technica Broadcasting headsets, but they are EXPENSIVE. So, if you’re just starting out and you’re on a budget, I’d go with the Samson microphones to start.
Samson Q2U USB/XLR Dynamic Microphone

Great quality, low price. They come with both a USB to micro-USB cable, an XLR cable, and a wind screen. Use the XLR cable to connect the microphone to the Zoom H6. The only potential issue with this type of mic is that it is a handheld microphone, and oftentimes people move their hands a lot when they talk, subsequently moving the microphone away from their mouth. To combat this, I recommend having headphones (any pair cheap in-ear headphones without a microphone will do) for each guest so that they can hear themselves while recording, and will then be aware when the microphone strays from their mouth. Be prepared to have to signal your guests to move the microphone back in front of their mouths.
Audio-Technica BPHS1 Broadcast Stereo Headset with Boom Mic

If you’re ready to level up, here ya go. These bad-boys are what you see the pros wearing on TV, and they deliver! It’s a mic-headset combo, so no need to worry about your guests waving their hands around and moving the microphone away from their face.To use these headsets with the ZoomH6 recorder you will also need to purchase a headphone audio splitter and 3.5mm Male to 6.35mm Female Stereo stereo jack adapters so that you can connect the the headset wires to the Zoom recorder since there is only one headphone jack.
To use these headsets with the ZoomH6 recorder you will also need to purchase a headphone audio splitter and 3.5mm Male to 6.35mm Female Stereo stereo jack adapters so that you can connect the the headset wires to the Zoom recorder since there is only one headphone jack.

Recording and Editing
What should I use to edit my podcast? Glad you asked!
Why buy something when you can get it for free?!? If you’re using a Mac (is there anything else?) do yourself a favor and don’t fix what’s not broken. It’s extremely simple to learn how to use but still gives you the capacity to produce something with incredible sound quality. The nuances of how to use GarageBand for recording and editing of your episodes is beyond the scope of this tutorial, but you can CLICK HERE to read the tutorial that Buzzsport created.
Note, after you have recorded your episode using GarageBand you must convert it to a format which can be uploaded to the site where it will be hosted. I personally convert the file to mp3. To use GarageBand to create an mp3 file of your podcast episode click “Share” in the navigation bar → click “Export Song to Disk”. Make sure “MP3” is selected and set the Quality to “Medium Quality (128 kBit/s)”.
Choosing ‘medium quality' will ensure that your file is not gigantic while still maintaining excellent sound quality. I assure you, this is the highest bit rate you need to convert to. There will be absolutely no audible difference if you convert to High Quality (192 kBit/s) or Highest Quality (256 kBit/s) and the file sizes it creates will require that you upgrade your hosting plan on whatever hosting platform you’re using in order accommodate the huge files. The file will be saved to the specific location on your computer and is ready to be uploaded to your hosting platform.
If you’re running windows, this is the free platform for you. I can’t speak to ease of use (I’ve literally never tried it) but I did my research prior to starting my podcast and Audacity received just as many thumbs up as Garage Band. Of note, be sure to adjust the quality when you export the file so that it’s not a huge file.
Podcast Hosting
Where does my podcast actually live?
First, off, what the hell does hosting mean? Well, your podcast episodes have to actually live somewhere. Once you create a podcast episode using GarageBand (or Audacity) you need a place to save it (aside from your website and/or computer) so that the public can stream it or download it and listen to it. If you were to attempt to save these huge files to your website and then have people listen from there it would only be a short matter of time before your site crashed and people simply gave up trying to listen. So, we store our podcast episode files with a hosting service and can then link it on our website if we choose. Voila.
Buzzsprout —For podcasters without a WordPress website, or those who just want a simpler setup
If you have anything other than WordPress, or if you don’t have a website at all, I’d recommend using Buzzsprout for hosting. It’s INCREDIBLY simple to set up, and while it’s not what I use, it’s what I now recommend to everyone who is getting started IF they don’t have WordPress site.
Blubrry — For podcasters with a WordPress website
For those with a WordPress website, I recommend Blubrry because of the seamless integration with WordPress via the PowerPress plugin. It’s what I personally use for hosting, and while the initial setup is a little bit tricky, once that’s done it’s incredibly easy to upload episodes right form your own website.
Cost for both platforms is determined by how much data (aka how many podcast files, and how big each one is) you upload each month. This amount typically resets at the beginning of each month and can be changed at any time. Even though your upload quota resets every month, once you upload a podcast episode it will stay there forever until you either delete the episode or cancel your subscription.
Do I need to have a website?
Yes, you need a website in order to have a podcast. If you already have a WordPress website then you can seamlessly integrate with Blubrry using the PowerPress plugin. If you don’t have a website, both Blubrry and Buzzsprout offer free podcast websites with every hosting plan.
How do I get my podcast on Apple Podcasts and the other hosting platforms?
A few things to clear up right off the bat:
- A podcast is different than an episode. ‘Podcast’ refers to your entire show, aka all of the episodes collectively. The word ‘episode’ refers to a single recording. An episode simply refers to the MP3 file and the associated metadata: aka the episode title, the podcast title, and the show notes. So simple! This is an important concept to grasp as it relates to submitting your podcast vs creating and posting a single episode.
- If you follow this guide, you will not need to worry about uploading each new episode to the directories such as Apple Podcasts. Rather, you will simply type in your RSS feed ONE TIME and once it has been validated the directory will automatically update each time you upload a new episode to Buzzsprout or create a new episode post your WordPress website if you’re using the PowerPress plugin.
- If you really, truly suck at computers you might want to have someone help you with this part. But honestly, Buzzprout makes this super simple, and I believe in you, and it’s nothing that a little trial and error can’t fix.
The How:
This is where Buzzsprout might have a slight edge as the entire process is a bit easier with Buzzsprout. Both Buzzsprout and Blubrry (via the PowerPress plugin)will walk you through how to get your podcast listed on the major platforms such as Apple Podcasts, Spotify, Google Podcasts, etc by using the RSS feed they create for you. You will have to have at least one podcast episode already recorded and saved as a Mp3 file on your computer. From there, they will walk you through all the required steps.
If you have a WordPress site and have chosen to use Blubrry as your host, you will simply navigate to the PowerPress plugin, then ‘Get started' and it will walk you through the steps of creating your RSS feed and then getting listed on the major players.
The Nitty Gritty (feel free to skip this part if you don't actually care about HOW podcasts get distributed)
- RSS feed – What the hell is an RSS feed? For our podcasting purposes, an RSS feed is basically a list of the blog posts with attached media files that directories like Apple Podcasts pulls from in order to update the content on its platform and make it available to listeners. Your RSS feed will be represented by an HTML code, which looks like a link but is not an actual webpage should you try to click on it. You will have an RSS feed associated with your website that contains all of your podcast episodes.
- Creating an RSS feed – creating an RSS feed using the PowerPress plugin is extremely easy and should actually be called LOCATING your RSS feed. Remember, both Buzzsprout and Blubrry will create the RSS feed for you.
- Submit your podcast feed (the entire thing, not just one episode) to Apple Podcast
- This means you will submit your RSS feed (HTML code) to iTunes. You do NOT need to do this for every episode. Notice I said you’re submitting your entire podcast, not a singular episode to iTunes. When you submit your RSS feed to a platform like Apple Podcasts, Google Podcasts, or Spotify, you only submit it once. Those platforms then refresh their databases every few hours and will retrieve any new podcasts episodes that you have uploaded to blubrry.
- You must first have a single podcast episode on your RSS feed. You cannot submit empty RSS feeds.
- Note, it can take a few days for your podcast to be validated by Apple Podcasts after you first submit your RSS feed. Once it has been validated you no longer need to submit anything to iTunes. You will upload individual episodes to either Buzzsprout via their website or Blubrry using the Powerpress plug-in on your WordPress website and iTunes will pull this data on its own.
- In order for your podcast to be validated by Apple Podcasts (and the other players) the information you submit must meet specific requirements. It's all listed out for you, so just make sure you follow the rules and you'll be good to go.
The Fun Stuff– What to talk about, how to launch, should you have guests?
If you’ve made it this far, congratulations. I know that all that talk about RSS feeds was a total downer. My main goal with creating this tutorial was to provide you with the information about the technical aspects of starting a podcasts. How to find guests, what you should talk about, and how to choose a clever title are things that are beyond the scope of this tutorial (I mean…how long do you want this thing to be?!), however, I couldn’t help but throw in my unsolicited two pennies on a few topics that I've listed below.
What should you talk about?
I’m guessing (and hoping) that if you took the time to read this long-ass tutorial, you already have a theme in mind for your podcast. Please don’t start a podcast because you think you’re supposed to start one. Start one because you WANT to start one. That in mind, talk about things that you care about, things that are fun for you, and things that YOU actually want to talk about. Podcasts are fun, but they are still work, and take a good amount of time to create. As such, if you’re not truly interested in what you’re creating, you’ll never stick with it. Everyone starts a podcast, very few people actually keep them going.
Should I launch one episode to start?
I recommend recording three episodes before you launch your podcast, and then putting them all out at once. This gives people a way to ‘binge’ on your content and get hungry for more.
Should I have guests or do solocasts?
This is 100% up to you. I do both, and put out two episodes a week, with one being a solo episode and one an episode with a guest. Having guests on is a great way to connect with industry leaders and have conversations that you likely would have never otherwise been able to partake in. Solocasts are great for sharing your own personal ideas, and establishing yourself as a thought leader.
Do I need to write an episode outline before recording?
I dunno, you tell me. I personally don’t write one out, but I’ve also been blessed with the gift of gab. You may find that it’s easier for you to keep things flowing if you have something written out. If that’s the case, write something out. I also do not send my guests a list of questions beforehand. You may feel that you want to, or, your guests may ask you to. Do what works best for you. If you’re not sure what works best for you, just get started and figure it out as you go.
How long should my episodes be?
Once again, this is up to you. Just make sure that you’re not dragging things out. There is nothing wrong with having a 5 minute long episode. People are busy and your audience may totally appreciate the brevity. Beware of simply copying others and trying to fill time just to fill it. If you bring on a guest and the conversation is done after 20 minutes, let it be done. Make your episodes as long or short as they need to be, and not a minute longer.
How often should l release episodes?
As it relates to frequency, this is also up to you. Just remember, out of sight (or hearing), out of mind. I would recommend releasing one episode a week. You can push this back to once every two weeks if you’re really struggling with time, but, just think about your own consumption habits and if you’d stay interested in something that only came out every two weeks.
Do I need intro music? How do I create it?
Having or not having intro music is up to you. I believe it creates a nice vibe, but, again, this is my personal preference. If intro music is what’s stopping you from starting, don’t let it. Start recording and releasing episodes, and you can come up with intro music later. As for how to create an intro song, you can hire this out to someone Fiverr, but I personally used GarageBand to create mine. Make sure that you are using copyright free music (they have this in GarageBand) or that you are getting your music/sound effects from a website that allows you to buy the license. I use Envato.
What about podcast cover art?
What about it? Just. Get. Started. Again, you can hire this out to someone on Fiverr, do it yourself using something like Canva, or ask a friend. Just get started. You can always change it later. I’m currently on the second iteration of my podcast cover. You can also create artwork for each episode if you’d like, but that only displays on your website, and if you choose to post it on your social channels.
Speaking of social media, how do you create those podcast promotional clips?
Those teaser clips of the podcast are called Audiograms. You can create these using a website called Headliner.
Should I hire an editor?
This is up to you, your personal skill-set, your interest level, your available time, and your budget. I personally edited the first 150 episodes of my podcast. To me it was important to understand the how, so that if I ever decided to outsource, I would know what a fair price would be since I understood the amount of time and effort that went into the work. If this ain’t your cup of tea, and you have the funds to pay someone to do it for you, then by all means, outsource it. As far as pricing, it’s going to vary, but be prepared to spend.
How do I get sponsors for my podcast?
Honestly, I have no idea. I’ve never been interested in acquiring sponsors because I prefer to use my podcast to promote my own offerings and not bombard my listeners with ads. Using your podcast to promote your own products can be a great way to get your content in front of an audience that otherwise may not have known about what you do. Yes, you may be promoting your stuff on Instagram, but some of the folks who listen to your podcast may not be on Instagram, and thus would not have heard about your offerings. Lastly, repetition is never a bad thing. Market your services on as many platforms as you can, in as many ways as you can. “Once is never.” As it relates to pitching yourself and trying to acquire sponsors, my recommended resource is Joe Casabona. CLICK HERE to check out his website.
Conclusion
Alrighty, that’s it! I know that this tutorial was pretty long, but I wanted to make it as comprehensive as possible so that you could read and get started right away. I’ve been podcasting for 2 years now, and it’s absolutely one of the greatest creative endeavours that I’ve embarked upon. It gives you a way to ask important people to talk to you, it gives you a way to spread your message, and most importantly, it gives you yet another way to connect with people.
If you’ve been thinking about starting a podcast, do it. And then stick with it. Everyone starts a podcast, very few people keep one going.
Be sure to follow me on Instagram and Facebook @TheMovementMaestro
Also, don’t hesitate to email me at info@themovementmaestro.com if you have any questions.
High Fives,
The Maestro